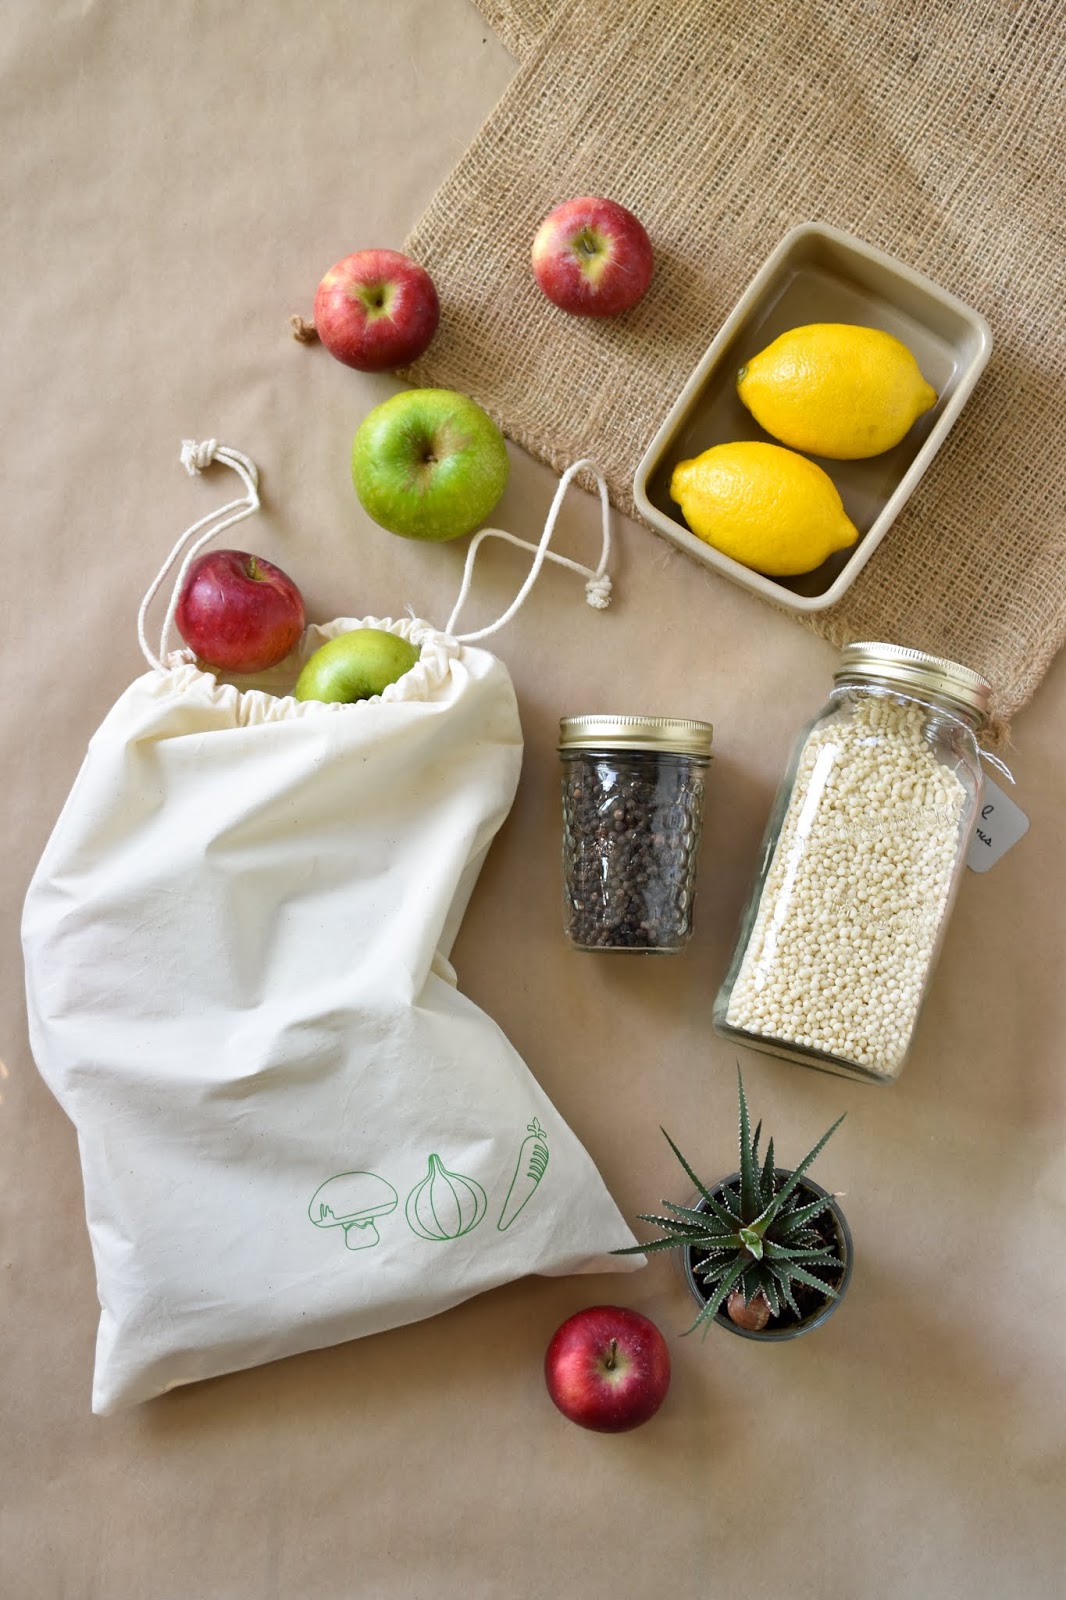
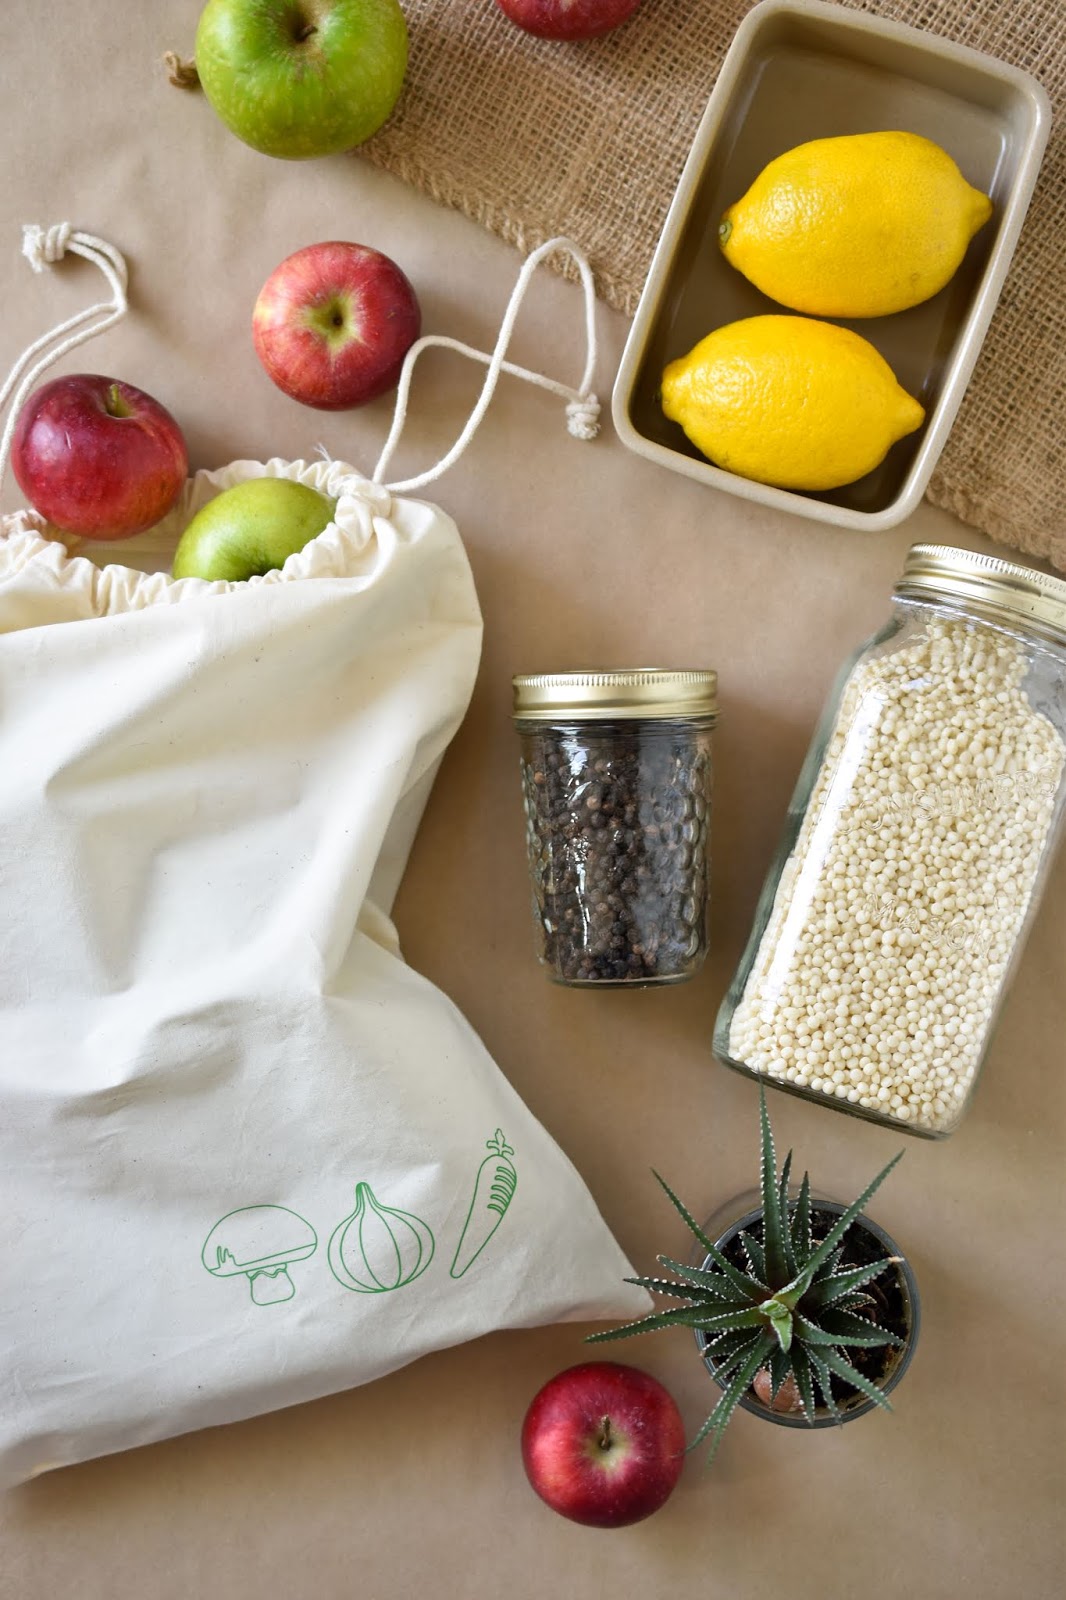
My quest to be more environmentally conscious is ongoing. I have owned reusable shopping bags and bins for many years - the trick has been to make sure I always have one or two with me so I'm ready for impromptu visits to the grocery store! Moving forward, I'd like to reduce the quantity of plastic produce bags I use in-store. Small cotton bags are perfect for items that don't get weighed, like broccoli, lettuce and cauliflower.
With the launch of the latest member of Cricut's EasyPress family of iron-on presses - the adorable Cricut EasyPress Mini - I am now on the hunt for all the tiny things in the house that could benefit from wee bits of iron-on decoration. Produce bags definitely qualify, because you gotta go grocery shopping, so why not jazz up your shopping tools and make it a bit more fun?
*This post contains affiliate links. If you make a purchase after following a link, Woman in Real Life may earn a small commission. Your price is not affected.*
Cricut Maker or Cricut Explore Air 2
Cricut EasyPress Mini
StandardGrip Machine Mat
EasyPress Mat
cotton bag
Everyday Iron-On Material in green apple
Heat Resistant Tape
weeder
If you are already familiar with Cricut's EasyPress line of heat-transfer machines, you know that they offer a portable, high heat alternative for transferring iron-on and Infusible Ink materials to all kinds of project surfaces. Cricut EasyPress Mini is the newest addition to the Cricut EasyPress family, and makes for a great companion to whatever size Cricut EasyPress you may already own.
EasyPress Mini offers some of the same advantages of a full-size EasyPress while being small enough to easily tackle tight and hard to reach spaces or uncommon objects and projects. The size of the plate on the EasyPress Mini is about 3.5" by 2". Use it for projects including:
Like the EasyPress 2, Cricut's EasyPress Mini has an even heat plate, with temperatures up to 400°F, and easy-to-use heat settings for effortless heat transfers. While the EasyPress 2 allows you to pick an exact temperature, the EasyPress Mini has three heat settings.
If you do a lot of sewing projects, the Cricut EasyPress Mini might be just the little assistant you need. It is great to keep close by for pressing seams or paper piecing and applique projects. The shape of the EasyPress Mini's ceramic-coated heat plate allows you to get between buttons and easily access seams. Keep it next to your trusty sewing machine as you work. It won't take up much space and it will heat up quickly when you need it. For safety, EasyPress Mini has an insulated base and an auto-shutoff feature. It's compatible with major brands of HTV, iron-on and the Infusible Ink family of products.
I decided to adorn my reusable produce bag with vegetables. To use the images I chose, open my reusable produce bag veggies design in Cricut Design Space. You may also pick out other vegetables or fruits from the hundreds of available images in Design Space. Size the images to fit your reusable shopping bag. Choose "Make It" to cut your design.
Be sure to mirror the image on the next screen before cutting. Select your iron-on material from the list of material options.
Apply iron-on material to the StandardGrip mat liner side down. Proceed with cut.
Weed away excess materials, leaving the cut image on the liner.
Put the reusable bag on the EasyPress mat. Preheat the material with the EasyPress Mini for 5 seconds. Place the design liner side up and secure the edges with heat resistant tape.
The EasyPress Mini has a comfortable, rounded handle (which I don't appear to be holding in the above photo only because it's awkward taking a photo of your own hand by yourself!).
Once the 25 seconds is complete, carefully remove the tape and peel back the liner while the project is still warm.
This project takes under 30 minutes from design to completion and I think it adds a cute personalized detail to a reusable cotton produce bag.
EasyPress Mini will have you wanting to iron-on all the things. Warn your family members to hide their stuffed animals, pillowcases, hats and shoes if they don't want to find them monogrammed or otherwise decorated!
Do you have an EasyPress? Which one? If not, do you want one? What are all the things you would decorate with iron-on?
This is a sponsored conversation written by me on behalf of Cricut. The opinions and text are all mine.
*This post contains affiliate links. If you make a purchase after following a link, Woman in Real Life may earn a small commission. Your price is not affected.*
Materials needed for reusable bag iron-on design with Cricut EasyPress Mini
Here's how to add a fast and easy iron-on image to a cotton produce or shopping bag. Start with these tools and materials:Cricut Maker or Cricut Explore Air 2
Cricut EasyPress Mini
StandardGrip Machine Mat
EasyPress Mat
cotton bag
Everyday Iron-On Material in green apple
Heat Resistant Tape
weeder
What does the Cricut EasyPress Mini do?
If you are already familiar with Cricut's EasyPress line of heat-transfer machines, you know that they offer a portable, high heat alternative for transferring iron-on and Infusible Ink materials to all kinds of project surfaces. Cricut EasyPress Mini is the newest addition to the Cricut EasyPress family, and makes for a great companion to whatever size Cricut EasyPress you may already own.
What projects can I use the EasyPress Mini for?
EasyPress Mini offers some of the same advantages of a full-size EasyPress while being small enough to easily tackle tight and hard to reach spaces or uncommon objects and projects. The size of the plate on the EasyPress Mini is about 3.5" by 2". Use it for projects including:
- hats
- doll clothes
- stuffed animals
- shoes
- pockets
- shirt sleeves
- cuffs
Like the EasyPress 2, Cricut's EasyPress Mini has an even heat plate, with temperatures up to 400°F, and easy-to-use heat settings for effortless heat transfers. While the EasyPress 2 allows you to pick an exact temperature, the EasyPress Mini has three heat settings.
Cricut EasyPress Mini for sewing
If you do a lot of sewing projects, the Cricut EasyPress Mini might be just the little assistant you need. It is great to keep close by for pressing seams or paper piecing and applique projects. The shape of the EasyPress Mini's ceramic-coated heat plate allows you to get between buttons and easily access seams. Keep it next to your trusty sewing machine as you work. It won't take up much space and it will heat up quickly when you need it. For safety, EasyPress Mini has an insulated base and an auto-shutoff feature. It's compatible with major brands of HTV, iron-on and the Infusible Ink family of products.
How to make the reusable produce bag iron-on design
I decided to adorn my reusable produce bag with vegetables. To use the images I chose, open my reusable produce bag veggies design in Cricut Design Space. You may also pick out other vegetables or fruits from the hundreds of available images in Design Space. Size the images to fit your reusable shopping bag. Choose "Make It" to cut your design.
Be sure to mirror the image on the next screen before cutting. Select your iron-on material from the list of material options.
Apply iron-on material to the StandardGrip mat liner side down. Proceed with cut.
Weed away excess materials, leaving the cut image on the liner.
Put the reusable bag on the EasyPress mat. Preheat the material with the EasyPress Mini for 5 seconds. Place the design liner side up and secure the edges with heat resistant tape.
The Cricut EasyPress Mini has three heat settings - the one you will choose is dependent on your project. It's best to use the online heat guide, where you will select the EasyPress that you're using, the type of heat-transfer material and your project's base material.
For this iron-on project with EasyPress Mini, the heat guide advised preheating the base material (in this case the cotton bag) for 5 seconds and pressing on the iron-on design at medium heat (two green squiggly lines on the EasyPress Mini) for 25 seconds using light pressure and constantly moving the EasyPress Mini over the design.
The EasyPress Mini has a comfortable, rounded handle (which I don't appear to be holding in the above photo only because it's awkward taking a photo of your own hand by yourself!).
Once the 25 seconds is complete, carefully remove the tape and peel back the liner while the project is still warm.
This project takes under 30 minutes from design to completion and I think it adds a cute personalized detail to a reusable cotton produce bag.
EasyPress Mini will have you wanting to iron-on all the things. Warn your family members to hide their stuffed animals, pillowcases, hats and shoes if they don't want to find them monogrammed or otherwise decorated!
Questions for you
Do you have an EasyPress? Which one? If not, do you want one? What are all the things you would decorate with iron-on?
Pin it for later:
This is a sponsored conversation written by me on behalf of Cricut. The opinions and text are all mine.


No comments:
Post a Comment